We shall not cease from exploration
And the end of all our exploring
Will be to arrive where we started
And know the place for the first time.
"Little Gidding"
T S Eliot

Sunday, 23 April 2017

Togetherness: (noun) the pleasant feeling of being united with other people in friendship and understanding

I've been a bit slow with my blogging of late - no excuses, just not enough time. Sometimes I just want to shout STOP EVERYTHING while I catch up!

Anyway, recently the Fearless Four got together for a crafty day. Linda had a pack of 4 box canvases, and Lin provided some hessian ...

To start, I painted the canvas with pearlised paint and set aside.

The main panel is a piece of mountboard that I stamped and embossed first, before adding some texture paste at the bottom. Next, a sprinkling of Brushos, spritzed with water. I coloured the flowers with Inktense pencils (used with water). I then intensified the colour over the paste, and finally used some pearl glaze (a Fresco one made by Paper Artsy).

When dry, the mountboard was layered with the hessian onto the canvas with PVA glue.


And the other masterpieces ...

Linda didn't quite finish.
The mountboard was cut into four after stamping, and there is a bit of decoupage there. Love those flowers.


Lin also didn't finish.
The canvas has some texture paste on it, and I like the matching canvas and mountboard colour.


Monica did some decoupage too, with an effective monochromatic look.


Another enjoyable day.

Love Spring, when my garden is at it's most colourful -

My tree peony, with blooms as big as dinner plates!


And one of my camelia's - so pretty.


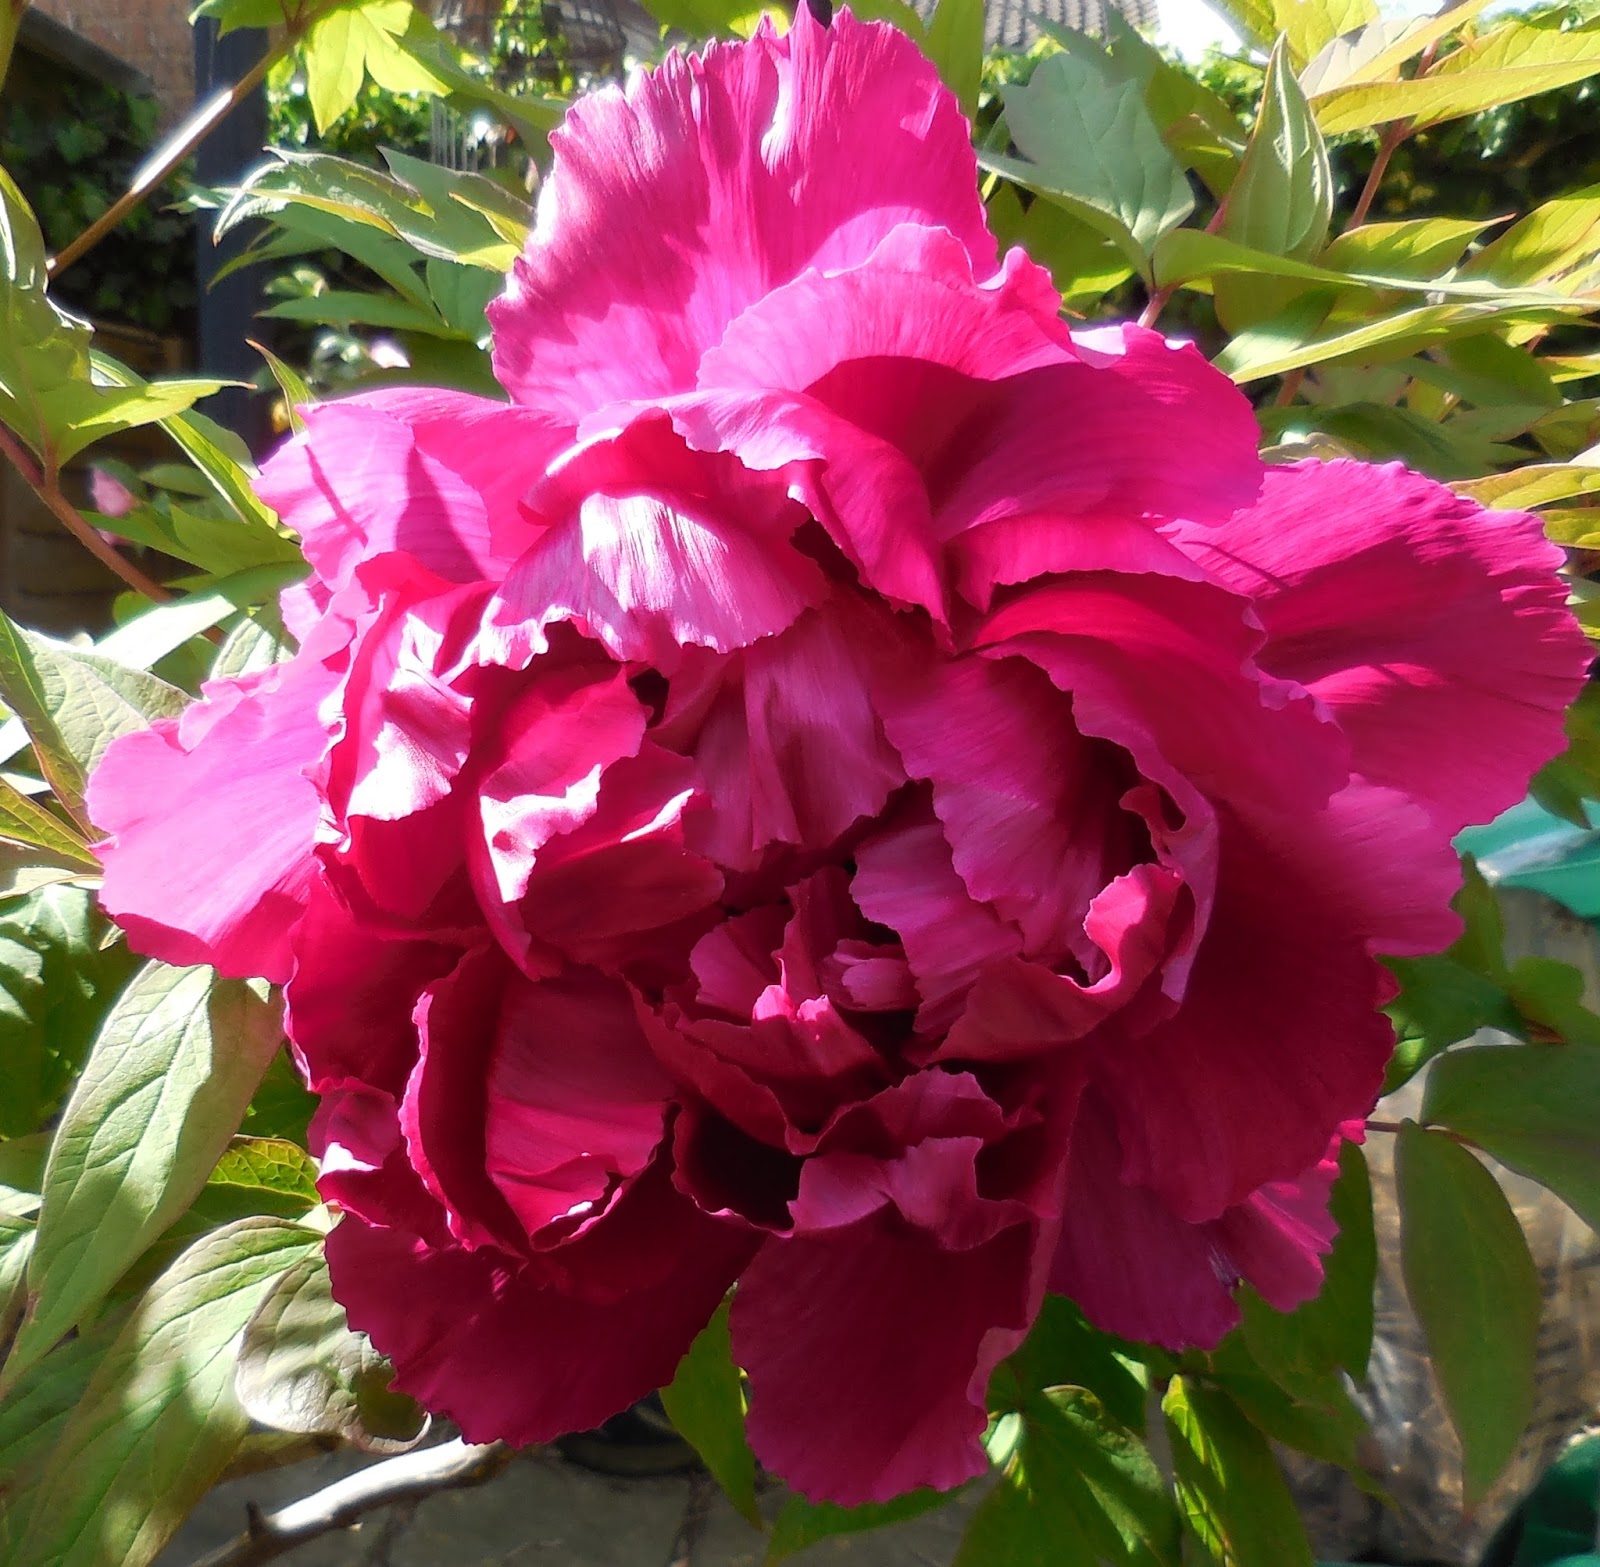
It's going to turn cold again next week, with an arctic blast, which will probably wreck havoc on the flowers, so I'm enjoying them while I can!


Thursday, 13 April 2017

Oops-a-daisy!

It's time for the Craft Barn's monthly challenge using the Sara Coleridge poem The Months of the Year.

April's couplet is -

April brings the primrose sweet,
Scatters daisies at our feet.

We also have to include either a primrose or a daisy.

As I've already mentioned in previous posts, I am struggling with the postcard format, but I am determined to stick to it!

I've used a piece of Yupo as the background, which was created with Brushos and clingfilm (see previous post here).

I then gesso'd a book page, cut out some petals, and added a bit of sparkle for the daisy centre (cut from another scrap).


Less is more with this size, so I'm not going to fret about trying to get too much into these small pieces.

Really enjoying all this sunshine, though it is a bit chilly in the mornings. But ... I did wash the car today and did the inside too! Not sure what came over me - it must be Spring!

Happy Easter!

Friday, 7 April 2017

Unmasked ... and a revelation!

The last exercise on my watercolour and mixed media course involving using masking fluid in several different ways, when we were asked to do a bit of experimentation!

We were given a reference of blue poppies to work with, so firstly I made an outline drawing, then I completely masked out the poppy heads with neat masking fluid.

The background is created in several layers, using diluted masking fluid 50/50 with water (I use Pebeo Drawing Gum).

The dilute masking fluid can be applied by brush or by spattering, but I decided to try it in a spray bottle.

The several background layers are made up of various watercolour washes, spraying the masking fluid at various points between the washes, so I could build up different densities/colours of wash. Once I thought the background was complete I removed all the masking fluid. In some areas I applied further washes until I was happy.

I also used some masking fluid on the stems and leaves too. Most of the stems and leaves were painted with my Inktense pencils and water.

I removed the masking fluid from the flower heads, and then added more masking fluid for the stamens before I painted the flowers, wet on dry in several layers. Finally, I painted the stamens.


Using dilute masking fluid was a revelation, and I so love the sprayed effect, but although I tried to thorough wash and rinse out the spray bottle, it did gum up the works, so I need to find very cheap spray bottles!

I've been taking my art courses for nearly 2 years now, so I'm taking a break from them while I consolidate what I've learned - which is an awful lot! But ... I've already signed up for a short course in May!

Sunday, 26 March 2017

Recipe for a good time ...

Ingredients:
Yupo Paper
Alcohol Inks
Brushos
Coffee
Smoked Salmon
A good friend

Had a session with all of the above last week. I tried Yupo paper some time ago, but I recently got together with a friend for another go!

 Here is all that I produced, and I'll go through some individual pieces in more detail.


Doing a landscape with alcohol inks is fun. For the sky I used a cotton wool ball with some blending solution and swirled it around.

I used the solution in a mister to add texture, and the corner of a credit card to create some grasses. The edge of a coffee stirrer moves the ink around.

The moon is a drop of silver mixative.


Similar techniques used here.

I thought I could use this as a background and stamp some fish on it!


A little more random using Isopropyl alcohol in the mister (which is a bit stronger than the blending solution), and dropping in some Isopropyl too.

I'll probably use this for a background.


Now to Brushos - I spritzed plain water onto the Yupo and sprinkled the Brushos. I then just left it to dry.

Makes a very subtle background for stamping.


I love using clingfilm on all liquid media but I can be impatient.

As Yupo is completely non-absorbent I had to be extremely patient! But I do love the effect.

I sprinkled the Brushos on dry, then spritzed before applying the cling film. I have a tendency to peek under the film quite regularly, but I had to wait til the next day before removing it!


On this one, I created a Brusho background, then added a couple of drops of water and Brusho on the bottom edge, before taking my trusty straw and blowing.

The paint moves very freely on the Yupo so not much puff is needed!


And here is what Linda W created with Alcohol Inks too.

Great colour combinations.


A fun session getting reacquainted with these materials!

Thursday, 16 March 2017

Hello Spring!

Another month has passed and its time for the Craft Barn challenge, using the third couplet in the poem by Sara Coleridge The Months of the Year.

March brings breezes, loud and shrill,
Stirs the dancing daffodil.

And the extras to include this time are daffodils and hares.

I'm finding my choice of a postcard format quite restricting, especially with the specific additions that need to be included. Anyway, this is supposed to be a challenge, so I press on  - I can only get better ...

I drew some daffs in pen before doing a quick background watercolour wash, then coloured the flowers with Inktense pencils.

Surprisingly I found a hare stamp!


I love this time of year, especially with the warm sunny days we are having. I just love to see the yellow daffodils with the pink cherry blossoms against a brilliant blue sky. Such a joyous sight!


Wednesday, 8 March 2017

Introducing Molly ...

You may recall I did a portrait of a friend's dog called Tia (see here).  I thought I would have a go at a cat, so this is Molly, sadly no longer with us.

I was asked to use pastel colours, so I did the background with very dilute acrylic inks, wet on wet, and just let them mingle.

I then used a photo as a reference. The outline is drawn in acrylic ink, and then I've used a combination of watercolour, Neocolor II crayons and coloured pencils. Quite tricky getting the fur colours and patterns!


This formed part of a birthday present to Molly's owner, who now has a black cat - which could be a little trickier to paint methinks!

Whiskers and tails
And thousands of frails
Lion-like nose
With an angelesque pose
Silky pattern'd fur
O'er heart-touching purr.
Terri Guillemets

Monday, 27 February 2017

Mix it up!

Following the experimentation with textures in my art class (see here), we spent a couple of weeks on a project using textures and mixed media.

This project had many layers, and I luckily remembered to take stage photos!

Stage one was drawing the outline and laying down some tissue paper pieces with PVA glue and resin sand (a gel medium with sand).

When dry I then did a pale all over wash.


Light coloured oil pastels were used next in some of the foreground areas and over the resin sand on the tree and shrubby areas. This was followed by background watercolour washes. The oil pastels act as a resist.


Then I concentrated on the tree using watercolour.


Next I strengthened some areas of the watercolour background, and added some gouache (greens and purples).


Finally, I used more oil pastels in the foreground and on the tree, Neocolor II pastels in the background, and acrylic inks and watercolour pencils for the extra twiggy bits.


This combination of almost every media I own made me realise even more that anything and everything can work together.

This project has taught me so much, that I'll no longer be afraid to use something if I think it will give me the effect I'm after.

I encourage everyone to have a go with paint, pencils, inks - whatever you've got!

Sunday, 19 February 2017

Happy Big Birthday Little Sis!

Yesterday was my little sister's 60th birthday, and I had a go at book folding for this auspicious occasion. I found a free pattern on the internet, and then found a book with the requisite number of pages in a pound shop.

I think it turned out quite well -

The folding is relatively easy because you are using the pattern measurements for each page. I did this over a few sessions; just remember to mark on the pattern where you last stopped!

You Tube has some good tutorials.

Another thing to remember is that each page on the pattern is equal to 2 pages in the book (front and back), so remember to double the number of pages when looking for the right book. Hope that makes sense!


I also wanted to decorate the cover with some appropriate photographs, printed onto wood veneer (my sister is a woodturner).

I designed the grouping of photos and words on the computer, then used the backing sheet from some sticky labels, which is completely non absorbent. Remove the labels first!

Run that backing sheet through the printer and the ink stays on the sheet, completely wet. Handle with care!


This is the tricky bit, lay the sheet face down on your piece of wood, and without moving it, press down all over. The ink will be transferred.

Oh, and remember to flip your pictures on the computer first, otherwise you will transfer it back to front! Yes, that was my initial mistake!


I also made this, as I found the lights at the end of last year, and then had to think of how to use them!


A perfect day!


Friday, 10 February 2017

Love reigns in my heart ...

The second part of the Craft Barn's twelve month challenge (based on Sara Coleridge's poem The Months) uses the next couplet -

February brings the rain
Thaws the frozen ponds again

and must also include a cherub and heart somewhere.

Sticking to my personal challenge of the postcard format, I used the last piece of the painted textured paper that formed the background of January's postcard (see here). I also found a small picture of a couple of delightful cherubs, which I must have had for many years in my 'maybe collage' box of treasures!

Finally, I cut out some clouds and added some heart-shaped raindrops ...


The postcard size is certainly making me think differently, but it also feeds a bit of my abstract soul too!

Cherubs fan our foolish fires, filling hearts with mad desires.
They prick our pride and haughtiness with quick, angelic naughtiness.
John Biccard

Thursday, 2 February 2017

Disaster alert ...

My art class session on mixing greens and using gouache allowed me time to have a go at another painting, which turned into a bit of a disaster.

I finished it at home, but I found it a bit boring. I had read about a technique of putting an extremely dilute colour wash over the whole painting to provide some unity, so decided to do a dilute pink wash.

What I didn't know was that gouache is very readily reactivated with water.  I carefully put the wash on and then before my very eyes the whole thing started to run! Shock, horror, and a bit of panic ensued ... I quickly mopped everything up and was left with a bit of a washed out picture.

Never daunted I tried to rescue it by redoing some areas, including the gouache ones.

I decided to let you see the finished item, so you can learn what I've learned - don't re-wet gouache and a rescue job isn't going to really work!


Though I'm quite pleased with my (albeit rescued) clouds!