We shall not cease from exploration
And the end of all our exploring
Will be to arrive where we started
And know the place for the first time.
"Little Gidding"
T S Eliot

Sunday, 29 June 2014

Shadow box adventure!

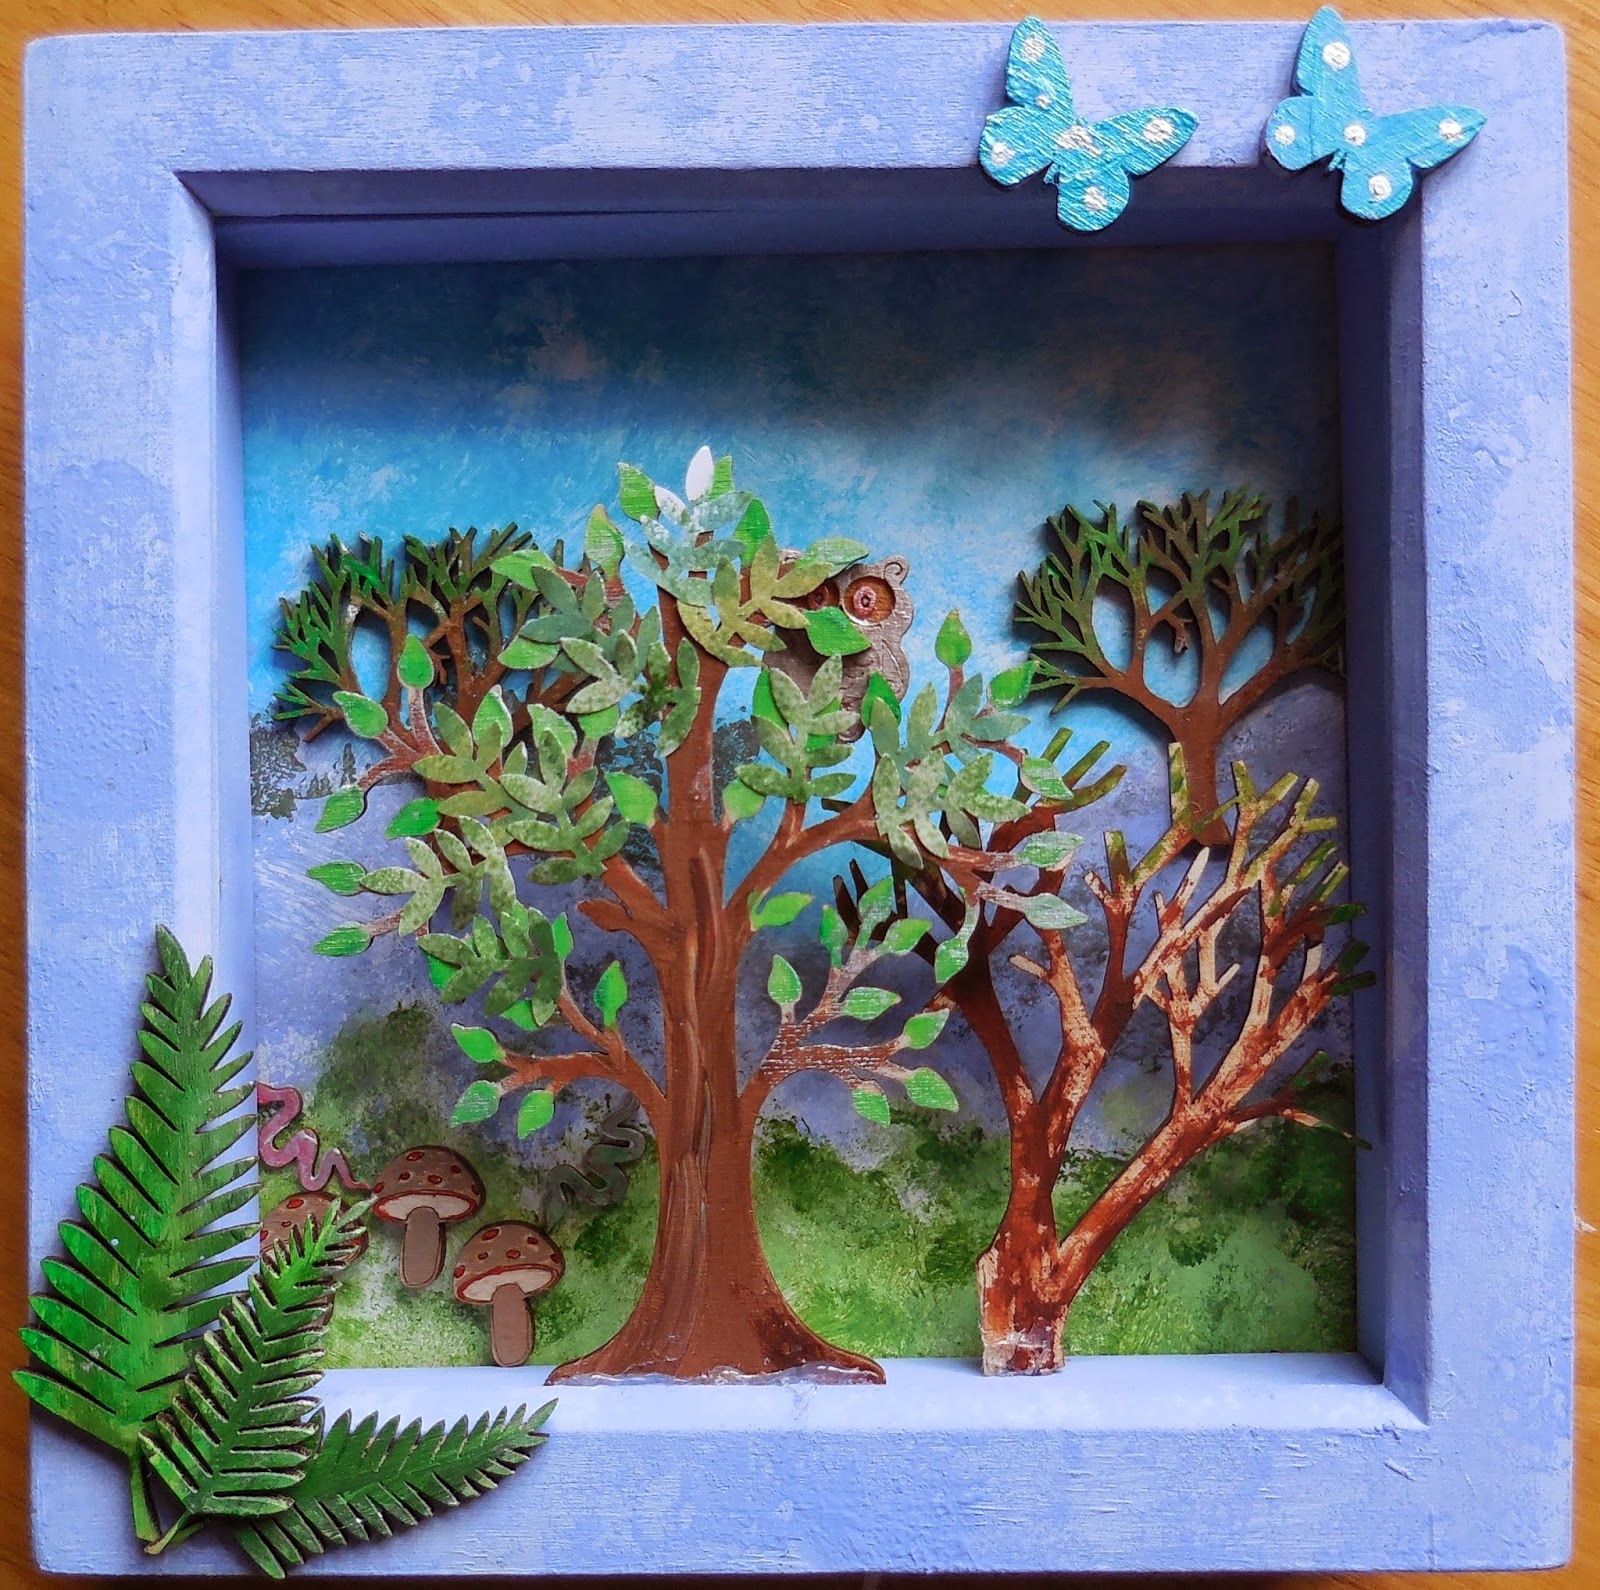
The Fearless Four recently tackled a shadow box (about 7.5 inches square).  We all had different themes, but put together, I think they could tell a story!


I went for an undersea theme, and I've just started here, with some book page fronds (a current favourite of mine - see previous post!), and initial layers of paint.

Also assembled and painted some bits and pieces, though I didn't use everything.


Only one of us finished on the day, and I completed mine over the weekend - with a bit of crackle paint on the frame, and some bubble wrap stamping.  Inside, a few shells, including abalone, a pebble picked from the beach (on recent holiday), some fishing net, dots of glossy accents for bubbles, and a plastic fish - painted and glittered!


Close-up of catch of the day - some rusty things (painted charms really!) and a couple of pearls.  Treasure guarded by Super Silvery Seahorse - fearless guardian of the deep!

Now for the others .....


Lin's atmospheric forest, spot the shy owl and ssssnakes in the grass!


Linda's fab red bicycle, and cute hedgehog.


Monica's shell paradise.


Great fun!

Tuesday, 24 June 2014

A little bit of gold dust

I started this project a couple of weeks ago, got side-tracked (mainly by the holiday!), so have only just finished it.

I'm using a wood canvas - my last one, so must get some more as these are my favourite substrates to use.


First, some texture paste through a seedhead stencil, then paint, using some unusual colours for me!  Also used the darker shade to stamp some background images.


I addeded some strips from book pages to create some grassy shapes.

As I wanted to do a collage with my favourite cone flower shape, prepared some card using printed tissue paper and random paint.  Then cut some petals, and created some open flowers.  I also punched 2 sizes of circles to create some buds.


Although I don't use it much - mainly because I forget I've got it - I love the Golden Gold Mica Flake (Large), which has mica flakes held in a clear drying medium. I used some of this on the flowers to create pollen dust.

Difficult to capture on film, but here is a close-up, taken in full sun, hence the startling colour change!


Final canvas, not taken in full sun, and showing true colours.


Here's to finding a little gold dust today!

Wednesday, 18 June 2014

PROUD to be a pirate - savvy?

We've reached no 12 in the Craft Barn's Q&L challenge, and the words are VINTAGE and PROUD.

Now, I am a little partial to Johnny Depp, and I love all the Pirates of the Caribbean films, so when I found this quote - well - search over!

My daughter was asked by a little old lady in
a London hotel restaurant what her daddy did.
She answered, "He's a pirate" - 
I was very proud of that answer.
Johnny Depp

Decided to be a bit minimalist this time, so started with a simple watercolour background wash - well, given the recent adventures on holiday it would be churlish not to!  Then added a couple of stamped images.  The quote is printed on a treasure map!


Yo ho me hearties!

Monday, 16 June 2014

Back from watercolour world!

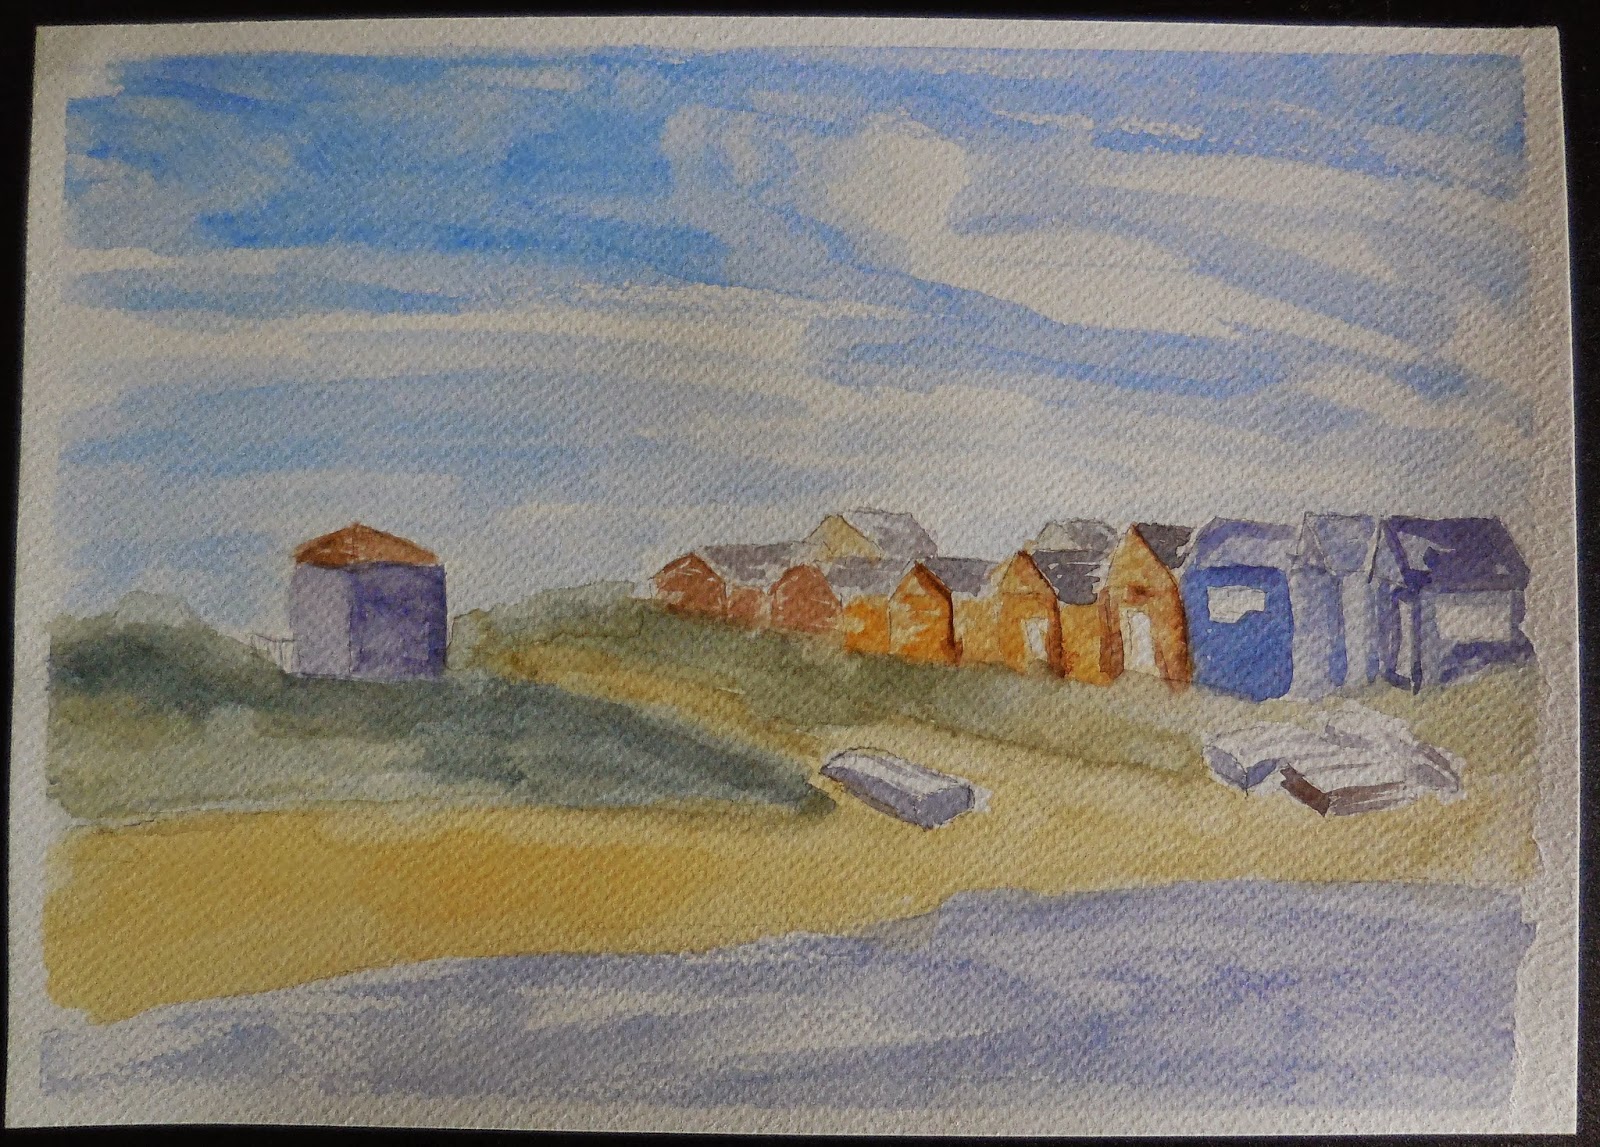
Just back from my watercolour painting holiday in Dorset; back to all the mundane stuff like washing, ironing, cooking! I had a fabulous time, great hotel, great food, great group of people (just 10 in the group), perfect weather - that just leaves the painting bit .....

I have never tried to properly sketch stuff, certainly never in the open air; never tried painting from real life, nor used watercolours before!  It was so frustrating for me to begin with - wet in wet, wet in dry, hard edges, soft edges, tonal values, colour mixing - aarrrgghhhh!  tooooo much to take in. The added problem? - the weather was so fantastic everything dried too fast - oh dear - a cloudy day would have been kinder to me!

The tutor's style is very loose, so no point at looking for detail. He made it look so easy too!  I didn't finish any of my pictures, but, for the record, here are some of my efforts! If you stand back and squint a bit, they don't look too bad!


This monotone was done in the studio from a photograph, exploring tonal values.  Not finished, still needs some dark tones.


As I had such trouble coping with both mixing colours and tonal values, I stayed with monotone for a couple of days.

This was on the beach at Henghisbury Head, looking at a pile of rocks with the sea behind, and a distant headland.

The wind blew my palette, brushes and water onto the sand, and as everything got very sandy I called it a day, so unfinished!


This is a photo taken across the water from Mudeford Quay .....


..... it was such a challenge on the colour mixing front, that I was very slow, so this only has the initial wash, and some medium tones.  I ran out of time on the darker ones!


This is Highcliffe Castle, the home of the original Selfridge family - a stunning place.


The sketching part took so long, I didn't even get colour over the whole page!


Painting outside means that people come up to you to see what you are doing!  I met some lovely people who all liked what I was doing - thank you kind people for being very diplomatic!!!!!

I've learnt enough technique to continue with watercolour at home, and I took loads of photos to practice with, though I don't think landscape is my thing!

This was the first painting holiday I've been on, and I would do another one - maybe learning to sketch, as I do need some guidance on that too!

Thursday, 5 June 2014

Never say "oops" .....

Always say, "Ah, interesting."

Found that quote (unattributed) whilst searching quotes for the latest Craft Barn Q&L Challenge.  The words this time are MOUNTAIN and MISTAKE.

I'm very fond of the philosophy(!) of Winnie the Pooh and friends (A A Milne), and found this little gem:

Always watch where you are going.
Otherwise, you may step on a piece of the forest that was left out by mistake.

I've recently acquired a couple of the new Prima sprays (they are fab), so created a quick background with them; followed by some stamping.


I'm off on a watercolour painting holiday in Dorset, which I'm really looking forward to. Hoping to learn lots of techniques and tips. As I don't have any portable gadgets (even my mobile phone is steam driven!), I won't be posting for a week or so.

Monday, 2 June 2014

Very Gelli .....

Spent a day with a Gelli friend.  We are getting better at understanding the sequences to use when utilising stencils and masks.  Here are the best ones I did, with explanations.

Brayer first colour onto plate.
Place stencil.
Remove paint through stencil (using clean brayer).
Brayer second colour through stencil.
Pull print.
I used the same two colours for each of these prints, just in a different order.


Brayer first colour (red).
Place stencil.
Remove paint through stencil, either by pulling a print, using clean brayer, or scrunched up paper.  It all depends how detailed the stencil is.
Remove stencil.
Leave plate to dry.
Brayer second colour (grey) over whole plate.
Pull print.


Another one using the same technique.


A mask was used this time, but same technique.


Brayer first colour (light blue).
Place stencil.
Remove paint with clean brayer.
Brayer second colour (dark blue) through stencil.
Using clean reverse text stamp (Tim Holtz), stamp through stencil.
Remove stencil.
Leave to dry.
Brayer third colour (buff titanium) all over.
Pull print.
The stencil moved slightly when I used the stamp, but still like the result!


Using black card and iridescent paint, this is the same technique as the 2 flower prints above.


I only cleaned the plate once during this session, so other colours appear on the prints, but I like that.

Have a play, and love your Gelli!